Film photography: Three things I wish I had known beforehand

I’ve been working intensively with analogue photography for two years, I started scanning my films myself and have stopped counting how many films I’ve shot so far.
During this time used cameras from Minolta, Leica, Canon, Pentax and also medium format on Rolleiflex and gained experience with various Kodak, Lomography, Cinestill, Fuji and other films.
I can now say with certainty that photographing film is a love-hate relationship for me on many levels, and I have already learned a thing or two in this short but intense time. And that’s what it’s supposed to be about, things that I wish I had known before I started with analogue photography.
Every film looks different when over- and underexposed
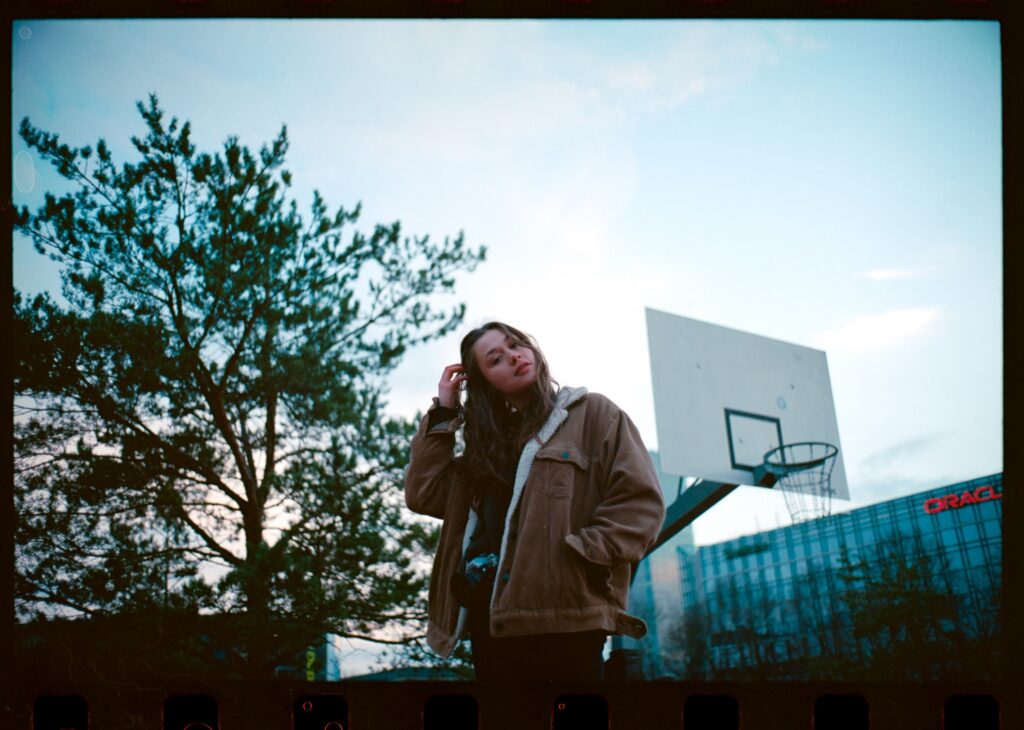
One thing I really wish I had known, especially when I first tried film, is that you don’t have to stick to the prescribed ISO. On the contrary, it’s worth experimenting and simply deliberately under-exposing or over-exposing a film. Here in the example with a Mono Kosmos two stops overexposed:

To overexpose or underexpose, you have to pay attention to the camera settings; most analog cameras after the 1950s let the user set the ISO and have a light meter. For example, if you want to overexpose the film by two stops, you halve the ISO twice.
With an ISO of 800 that means setting it to ISO 200. Before you do that, it’s definitely worth searching for the film in question using the search engine of your choice and looking at Pulled or Pushed to see whether you like the look. I personally use Lomography to research film stocks and exposure.

Therefore, when you try out a film for the first time, you can expose the first ten frames normally, overexpose the second, and underexpose the third. In the end, you have a direct comparison afterward and can say with certainty which look you like the most.
Apps such as Light Meter for your cell phone are particularly useful when overexposing or underexposing if the camera does not yet have a built-in light meter.
“the first 10.000 images are your worst” take them digitaL
There is much more to this quote from the world-famous Berlin photographer Helmut Newton than just a variation of “practice makes perfect“: because the learning curve as a photographer remains constant, there is always something new to learn. Nevertheless, today we have a huge advantage that Newton didn’t have: We can take digital photos, and by that I don’t mean with a cell phone.
Anyone who takes photos on a memory card instead of film gets immediate feedback whether the image turned out well. After all, you don’t have to wait weeks until the film is finished, developed and in front of you again. Especially when you start taking photos, get to know different lenses and getting used to manual photography, digital cameras are so much better for learning (not to mention the price of film).
A camera that I can recommend btw. is the Canon RP, but back on track.
What is particularly useful is that every digital photo also records the settings under which the photo was taken. If an image is underexposed or out of focus, you can often derive the “why” and understand it and do it better next time. This isn’t so easy with analog photos, and you’re always left wondering: “Did I not focus correctly, was it due to the exposure time or is there just something wrong with the camera?”.
As a tip, I would also recommend setting the ISO in manual mode to a fixed film value of e.g. 100, 400 or 800 when taking digital photos. This gives you a feeling for how to deal with aperture and exposure time at a fixed ISO. Because when you switch to analog photography, the ISO is suddenly a fixed value that can no longer be adjusted as desired. Developing a feeling for this in advance is extremely practical. And it works, you’ll get more and more confident to take images even without metering the light first.
Handle those negatives with care
Yes, I know, of course this should be a little obvious, but I have to emphasize it again. Every time you interact with your negatives, you risk damaging them. Dust, miniature scratches, moisture, grease from fingers, etc. leave traces and can be prevented. Therefore, right from the start, deal with your own negatives as carefully and cleanly as possible.
So there you have it, three things I wish I had known before shooting film for the first time. If you liked the post, please leave me a comment or input about what else interests you.
If you are interested in learning about rangefinder cameras in general and the Leica-M Models, search no further and click here.
Before I forget, the featured image shows the model Paulina in the Munich subway with a Porta800 on the Leica M4P.