How to showcase your first exhibition and what I learned
It’s almost a year since I decided to showcase an exhibition. Since my first test print at Safelight Berlin, the selection has been refined, a title has been found, new images were brought in and experiments have been tried out. I shot, scanned and sorted out many more films from Berlin, Bremen, Stuttgart, Hanover and Cruxhaven.
Then everything went very quickly, I had my location and a date by when the pictures had to be finished. Then came the harder questions: Which frames to use, where should I print, which formats and how much money should I put into this risk? How I approached these questions, what I will do better next time, when there will be a next time and what went well: That is what this blog entry will be about.
The first selection – Pretty cold
In hindsight, I’ve internalized one thing, having a theme for an exhibition beforehand is very, very handy. Not only does it help massively in the selection of motives, it also tells a story and makes associations easier for the viewer. Yet, I didn’t have a topic, but a number of favorite pictures that I wanted to print. In terms of timeline, we are now roughly after my test print in Berlin, at the end of the summer and about two months before my actual exhibition.
So I printed out the entirety of the selection in a smaller format and laid it out on a white sheet and a large black sheet of paper. On the one hand to see which pictures could work together and on the other hand to test whether a white or black frame works better.

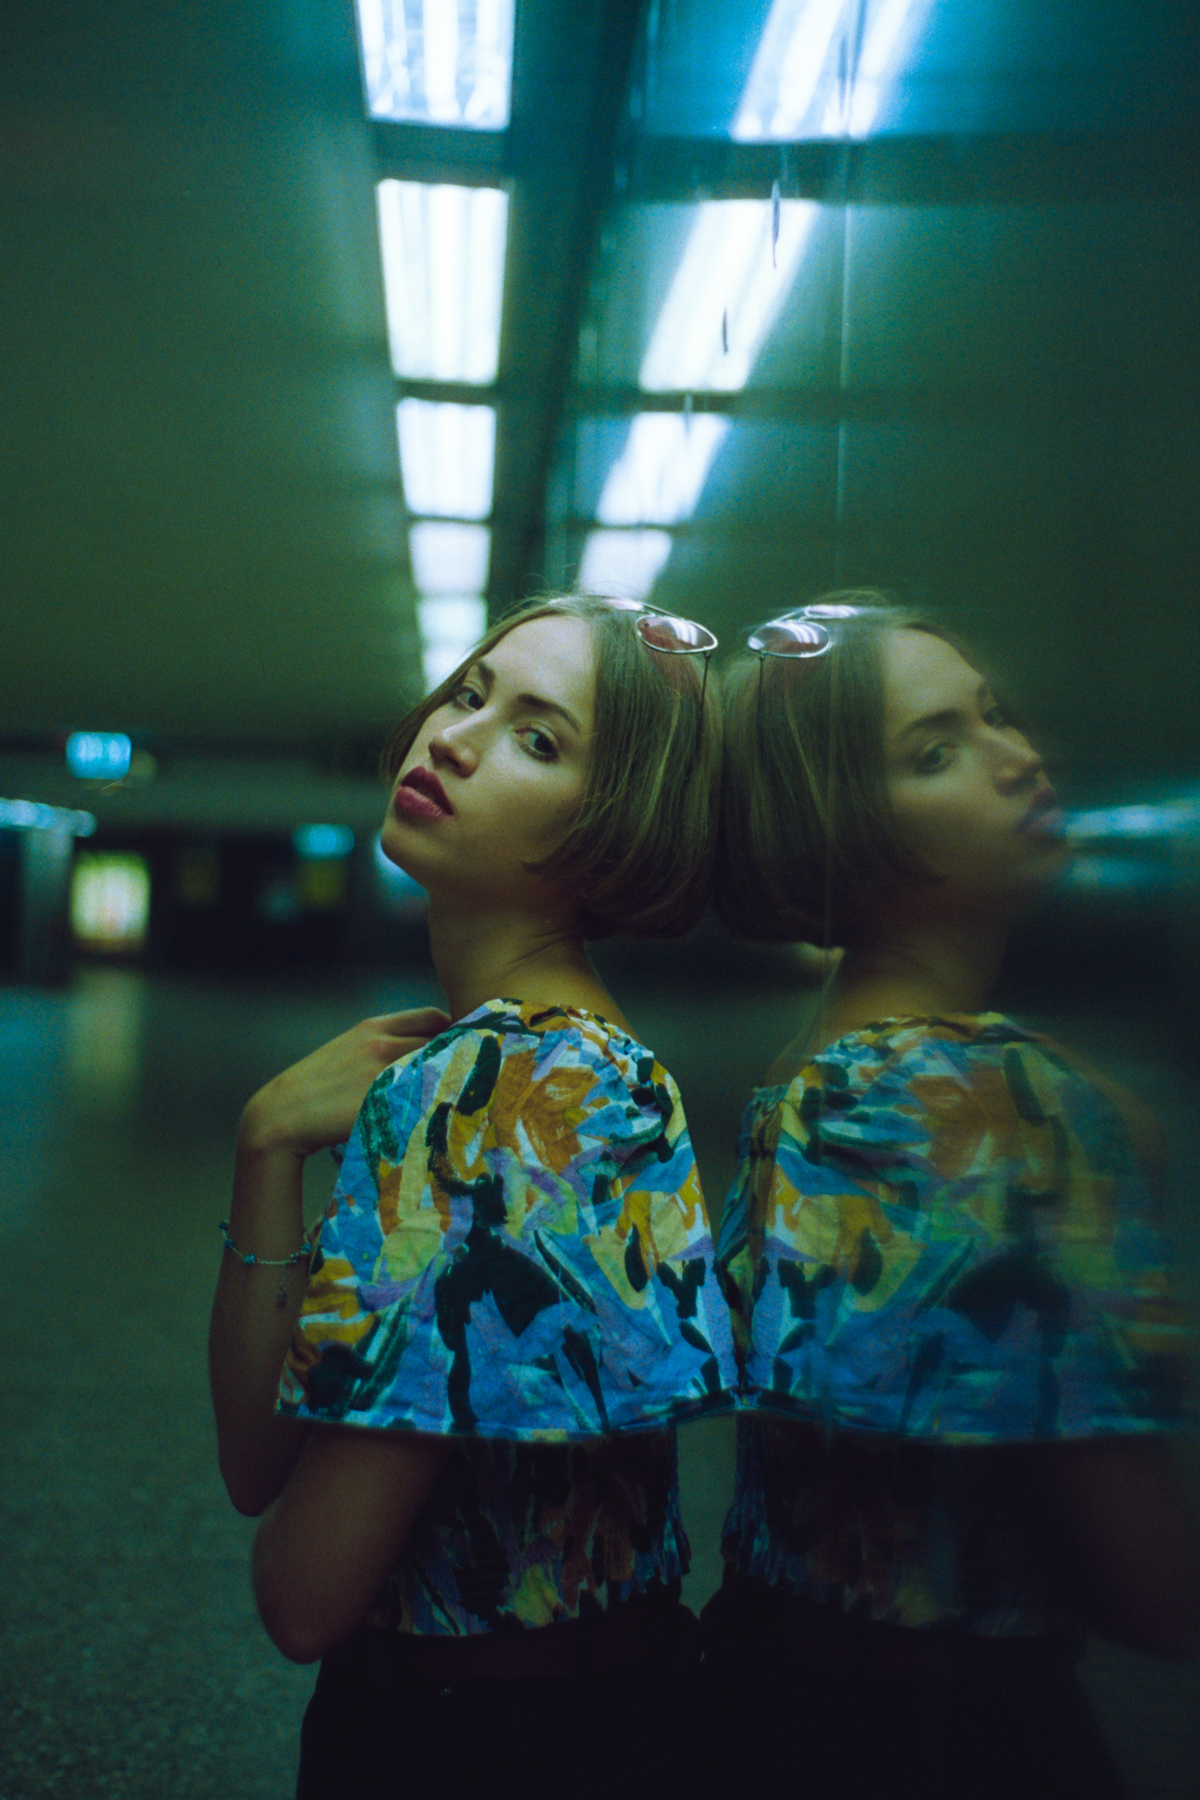
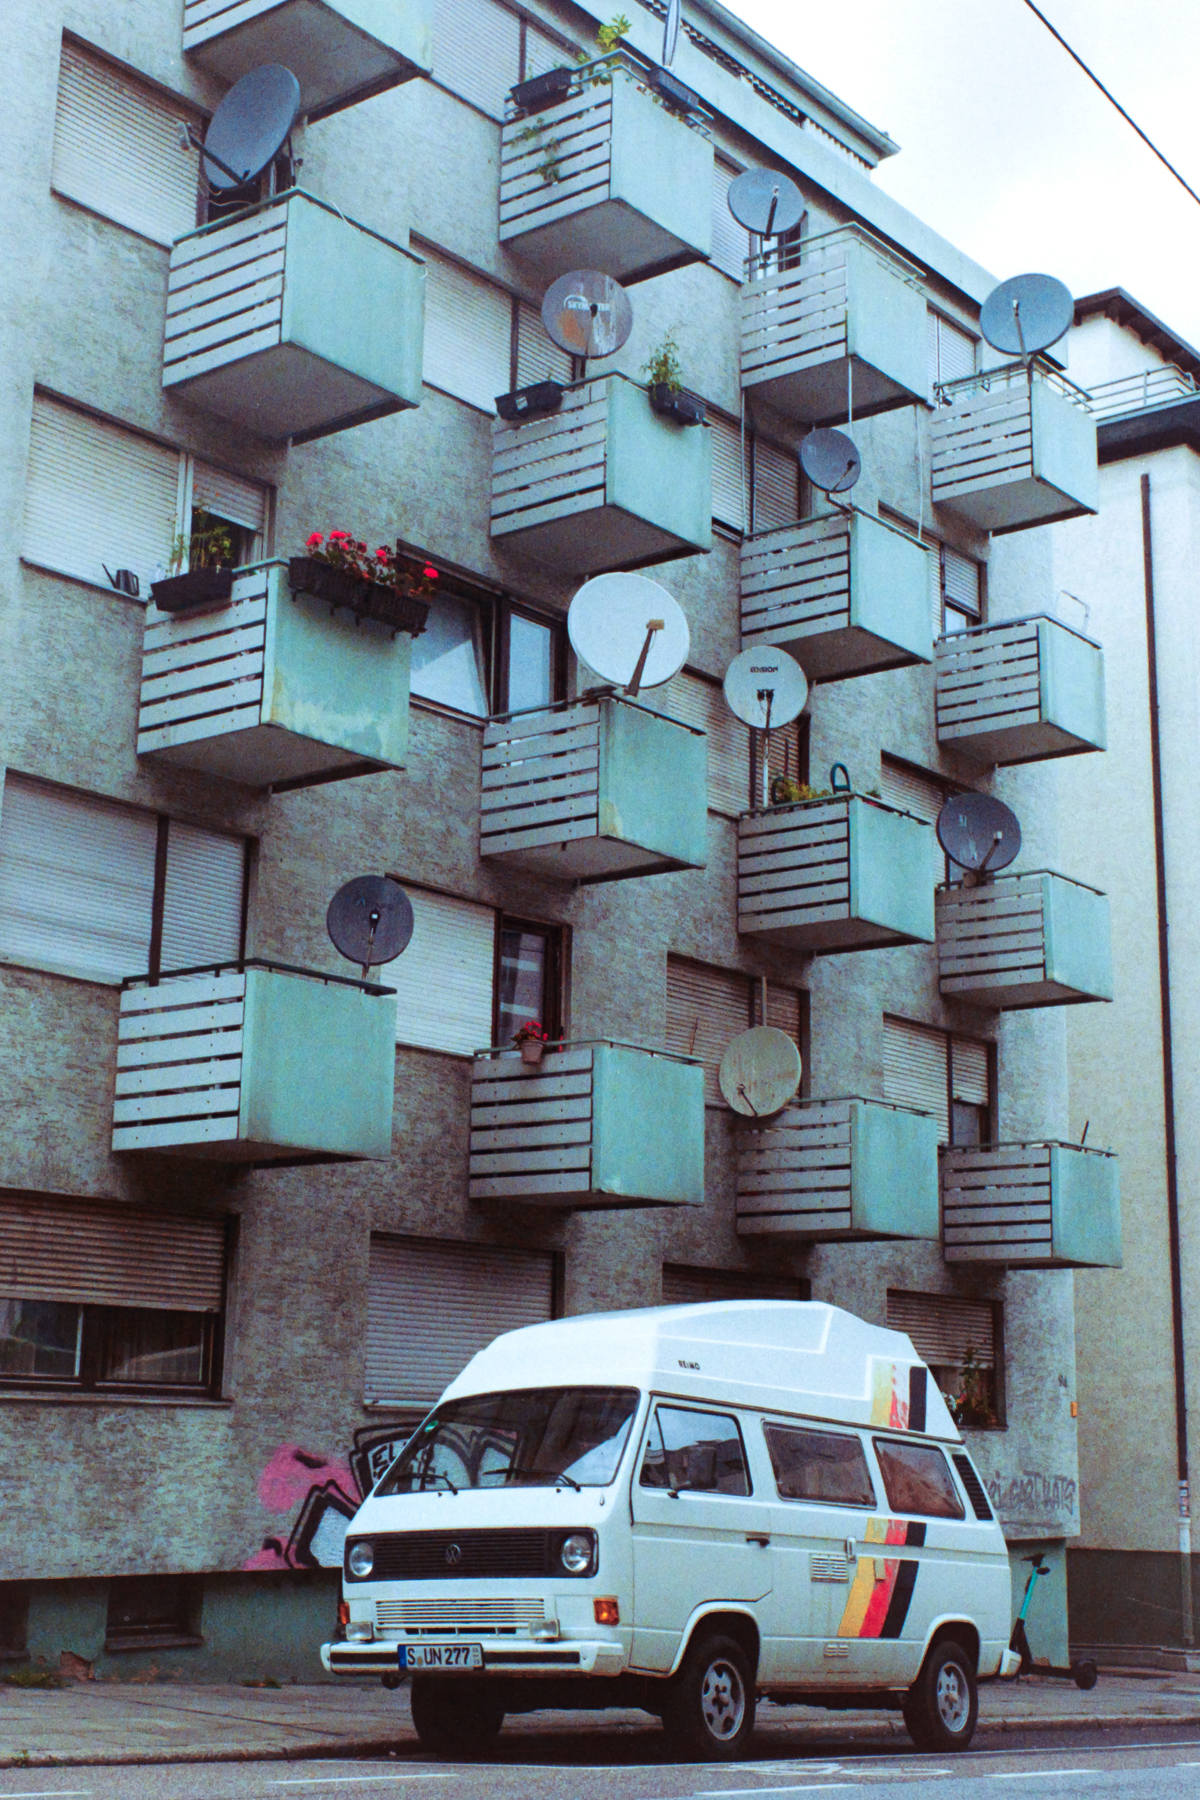
The first thing that struck me was that my entire selection is very cold, too cold for my liking, and that’s thanks to my passion for the Kodak Ektarchrome and Cinestill 800t. So I decided to add warm pictures. For this to happen I arranged a portfolio shoot with a ballet dancer, planned a short vacation up north and decided to work with warmer films, such as Kodak Porta 400 or Kodak Professional 100, which I used in Cuxhaven for the first time with a panorama adapter. There was also the Evergreen Kodak Color, which I gave a test run in Stuttgart.
Unfortunately, no photos from Cuxhaven made it into the exhibition, simply because of the panorama format and the associated complications when printing and framing the photos. Also, as much as I celebrate the format, I still don’t have an idea of how to present it. Nevertheless, they turned out beautiful and, as expected, not so cold… at least one of them.


How I found my theme but wasn’t able to go big
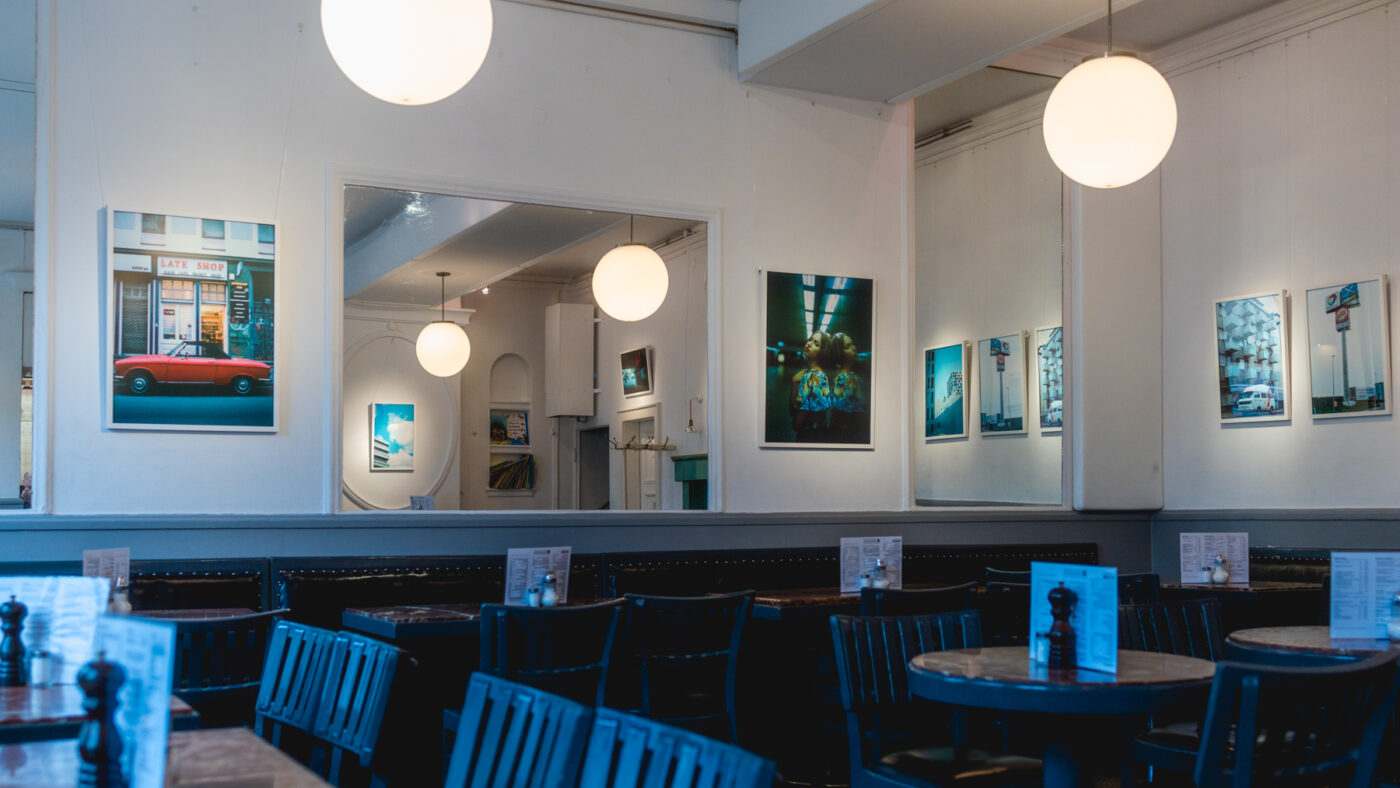
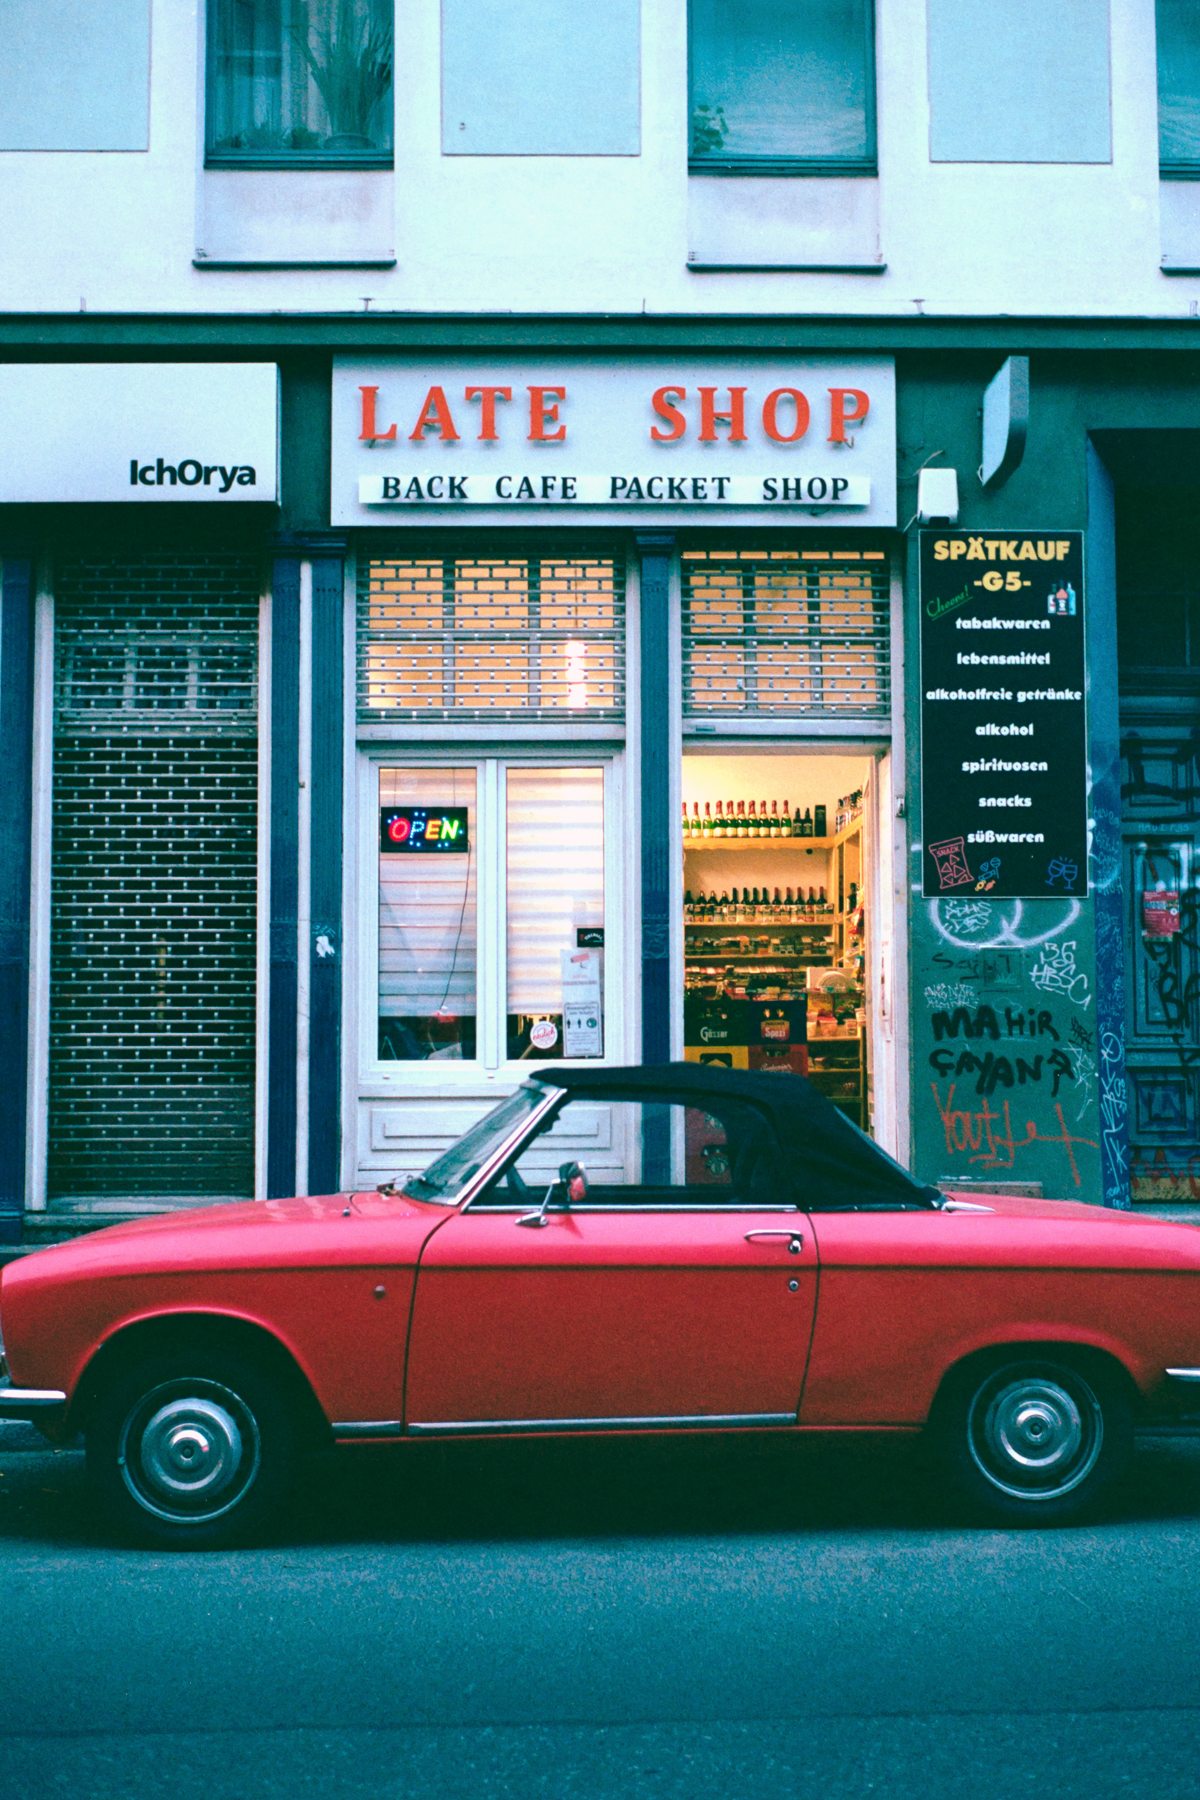
With my wider selection and some warmer images up my sleeve, I was finally able to make the final choices. To somehow figure that out, I first sorted the images by size. Images that are clearly favorites for me immediately went into the large print category, from there I looked for “support images” that could compliment them well. My large pictures were a mixture of street photography and portraits, so branding the theme of the exhibition in a similar way to my blog “Metrosophie & Pictures” came naturally. Those were the final core images of my exhibition “Metrosophy & Portraits“:


I knew from the start that I wanted to have the pictures printed in Berlin, after all I had good experiences with the Safelight team. However, this came with a disadvantage, wider than 60 cm was not possible. On the one hand, this is simply due to the size of the printer used by the analogue film experts and, on the other hand, the fact that the popular and valued Hahnemühle paper only seems to be available in this format. If anyone wants to correct me about the last sentence, please go ahead.
At this point two tips for those of you who are planning to do an exhibition or simply to print your pictures: When cropping your pictures, pay attention to common frame formats: 60×90 cm sounds good and even looks better, but then you need custom-made frames and this can double your costs easily.
Also, I suspect most of you are not working with a perfectly calibrated monitor, which means the images you send to print will look differently than what you saw on your screen.
Find the lab you trust
Printing in Berlin was not a prestige decision for me (although it does look nice on paper, pun totally intended), I printed a few pictures there at the beginning of the summer and knew that my photos would turn out darker than on my computer screen and my blue tones would turn a little greenish. Every lab works a little different, has different scanners, printers and experts who do the final processing before printing. Being able to assess what your trusted lab is doing with your images before it hits “Print” becomes really important when you’re investing several hundred Euros.
With Safelight I knew what to expect, I also knew that the colleagues have a good feeling for exposure corrections, which is why I also gave them carte blanche to brighten the images if they felt it was necessary. The results blew my mind.
It was clear to me that I had weaker and stronger motives in my selection when it came to color contrasts. When some “problem children” of my selection unexpectedly came up with really strong and stunning colors: It felt incredible! Therefore, I would definitely recommend to anyone, who wants to print a larger project, to try out different labs beforehand and test which one delivers the best results. For me, safelight Berlin was the best choice.
Framing mistakes you can easily avoid
I didn’t know if I would make any profit with my first gallery. Nevertheless, I didn’t want to save on the paper for the pictures, but on the frames… Museum glass, custom-made or master craftsmanship, frames offer many, many possibilities to spend a lot of money. The frame manufacturer that I wanted at first would have cost around €120 per frame. Much, much too expensive for the first exhibition, at least for me.
A compromise was frame Aab, who work sustainable with regional woods. And I would recommend the company to anyone without any ifs or buts: Their prices and performance is unbeatable. Now that I know that I can earn something with exhibitions, I will invest a little more in frames for my next one, for the following reasons:
- On the one hand, when it comes to frames, I would pay very close attention to how tight and secure the picture is in the frame, because if the picture is too loose, dust can easily creep in between the glass and the art
- Some wooden frames lose chips, which is of course a real horror when framing, because the print always somehow comes into contact with the wood and finally:
- Frames have to be transported and hung up, often several times. With cheaper frames this can leave marks more easily, and then you have to replace them if you sell them
Also, and this is a very, very important point: be careful when you come into contact with the pictures! We have so much oil, grease and dirt on our hands (yes, dear readers, you too!), so ALWAYS wear cotton gloves when touching the pictures. As expensive as the paper is, it is also sensitive. Here is more on things I should have known before starting with film photography.
Marketing and sales strategies
Um yes, I think I pretty much screwed up. I made a subpage on the website where you can buy the paintings, left a set of business cards at the exhibition venue (Cafe Ruffini) and just hoped for the best. You can do a lot more than that.
What naturally stood in my way as a shy artist is that I didn’t wanted to put yourself on a pedestal too much. Keeping it low you know, but in this case it only gets in the way. Next time, there will be a next time, next time I’ll plan and announce it bigger.
What do you have to lose? In the worst case you don’t sell anything, so what? I talked to graduates from the Academy of Art and found out that you rarely sell anything at their first exhibition. It is important that you stand behind your work instead of hiding behind it. Interested viewers would like to know something about your pictures, give them something, do an art opening, closing or an exhibition catalog.
Outro & outlook
An exhibition goes by so quickly: In the meantime, many pictures have ended up back in my apartment and some have been sold. Contrary to my expectations, I not only got the costs for production back, but was able to make a small profit and an even larger sum for Medico International as donations. Yes, I’m patting myself shamelessly on the back: Because I’m so, so happy that I managed to put together a really successful donation exhibition!
That out of the way, even if I hadn’t sold anything, the gallery would have been a success. Seeing the pictures printed for the first time, framing it, the experience of creating a catalog, setting prices, thinking of a theme and getting feedback from so many people, and much, much more – that is the real reward of an exhibition! Not the money, but the experience and joy it brings.
I’ll take my time with the next exhibition. I would like to print larger, and I still have to find out how this works with film. Furthermore, I would also like to take more international photos for my next one and address the effects of climate change.
By the way, a photographer collective that is superb at that already is the Docks Collective. Feel free to check out their Instagram channel, great photo series and definitely an inspiration for me.
I hope I was able to motivate you a little or give you interesting insights behind the scenes of an exhibition.
Therefore, please write to me if you have any questions and have a great day.